Day One.
I started this on Friday. I know it sounds like a long time but really most of the time is spent in the refrigerator. Its a 3 day process but well worth it. Nothing is worse than spending time roasting a bird and having it have the texture of chicken jerky.

Start with two gallons of water.


Usually, I'm not too exact. I don't use measuring spoons all the time, but this is a time to use one. Too much salt will wreck a brine and too little will leave it too sweet. Add 2 Tbsp per quart of water, so here add 8 Tbsp of Kosher salt. Don't use table salt. It's too fine and will make it too salty. Use the Kosher salt.
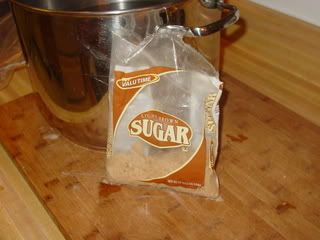
Add to the salt water one cup of firmly packed brown sugar.


Use some fresh herbs, but not all of them I used about half of this package.
There's really no need to chop these up just throw them in the water.
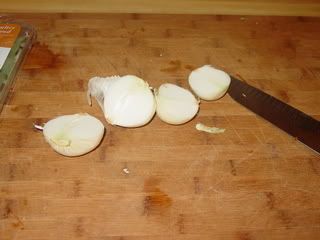
Chop two onions in half, and quarter three apples.

I know it sounds goofy, but trust me. About 1 tsp. cinnamon. It adds an awesome aromatic.

Add about 1 tsp. of crushed red pepper.

This is the pre-minced garlic in a jar. Some people hate this stuff but I love it. It's potent, easy to use, and cheap. If you'd rather peel and chop it yourself then go for it, but I like this stuff. Throw in about 3 Tbs.
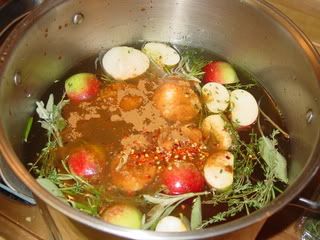
Look Good? Not really I know. Its like a cauldron of weirdness... but trust me its going to be good.
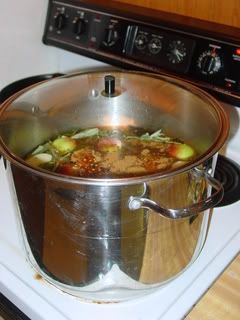
Put it on the stove and boil it for an hour. Remove from heat and smell the awesomeness... let it cool down and refrigerate over night.

Let it rest in the fridge and forget about it until the next day.
Day Two.
Saturday. The second day is definitely the easiest.

Cold brine, taste it now if you want before you get the chicken in there.

Open up your chickens and yank the bag of giblets out of the cavity. Rinse them off and put them in the pot O'Brine.

There's three of them in there. Put the lid back on and put them in the fridge again and forget about them until the next day.
Day Three.
I didn't get too crazy with the veggies. In fact I bought what was colorful and on sale.

Yellow squash, zucchini, red/yellow/orange bell peppers and green beans.

Chop them all up.
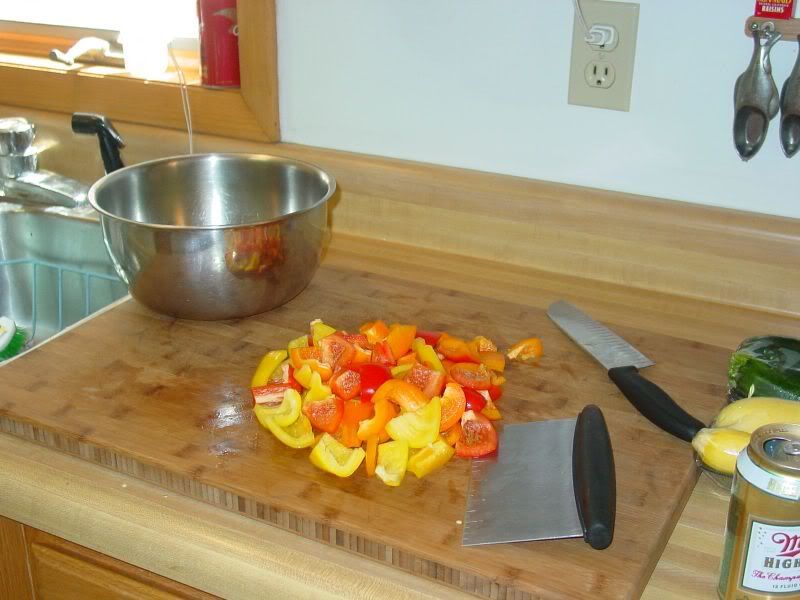
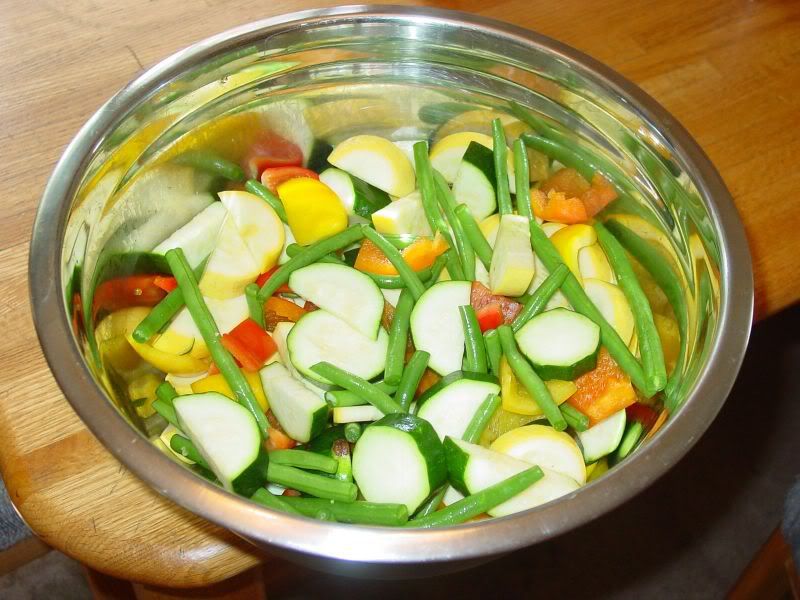
Throw them in a bowl and cover with your favorite Italian dressing and let them sit until you need them.
Of course I invited some friends over to enjoy this feast with me. Brandt came over a little early to help out. It was great to have the hand so I could shoot photos.

We tied the chickens at the legs and wings so they would rest easy on a beer can. Now that the birds are out of the brine and tied up, take the brine and discard of properly. Remember it had raw chicken in it and could host food born illness.
Now for the beer. Drink half, or pour it out if you'd rather. I added half the remaining herbs used in the brine, chopped this time so they'd fit. I also put about a half tsp. of the minced garlic in there too.


We manufactured a little too. Only had two can racks, so we made one.

Time to bub down the outside. First lightly bastes with oil. This will help with the browning process. Then rub down the outside with your desired spices.
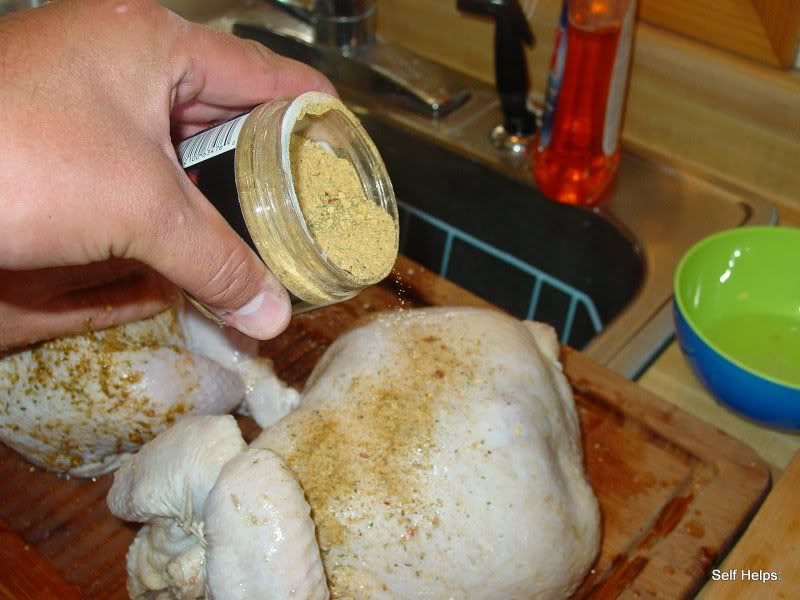

We used this and the rest of the chopped herbs.

One ready...
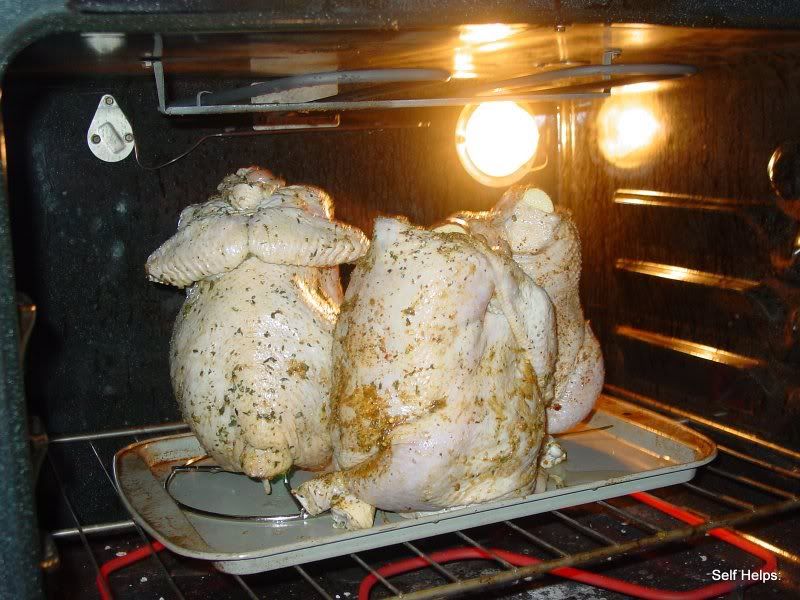
All ready and into the oven. Originally I planned to do this on the grill. They wouldn't fit on my grill. So into the oven they went, at 325 degrees. I probed the largest breasted one with the probe thermometer. I love that tool. It has a heat proof cord, you never have to open the oven until its done, which reduces cook time. Now leave the birds alone for a bit and work on the rest of the meal.
Taters. Start with a half of minced onion.

Peel and chop your spuds...
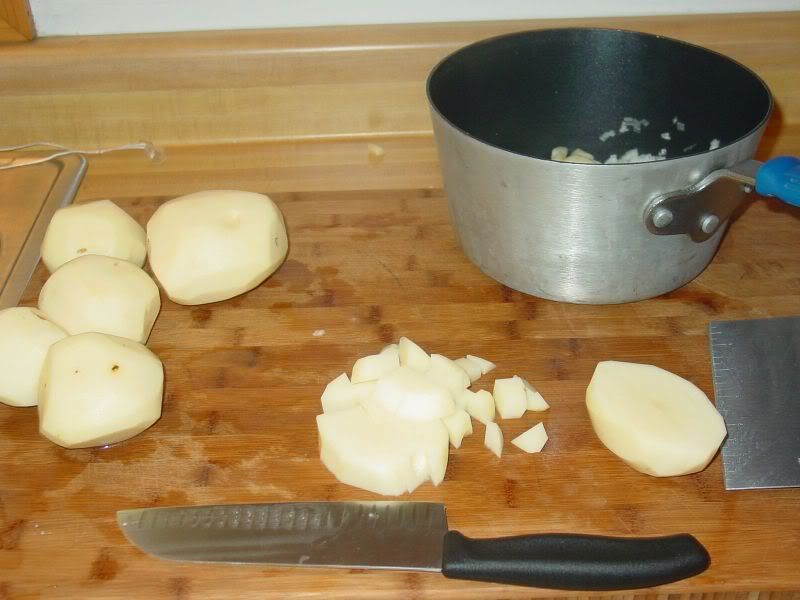
Add some of that minced garlic.
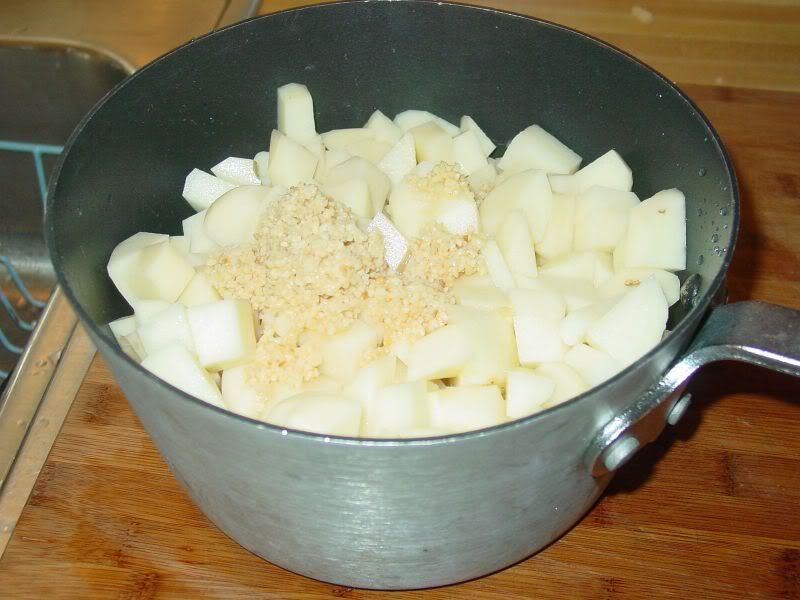
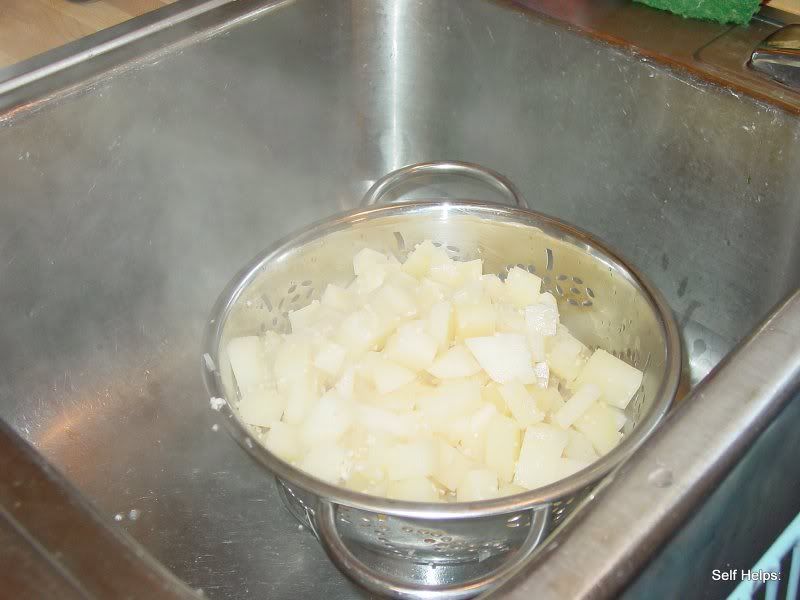
Cover with water and heat to a boil. Cook until soft.
Meanwhile keep an eye on your temp. I know poultry is supposed to be 165 degrees, but pull these at 160.
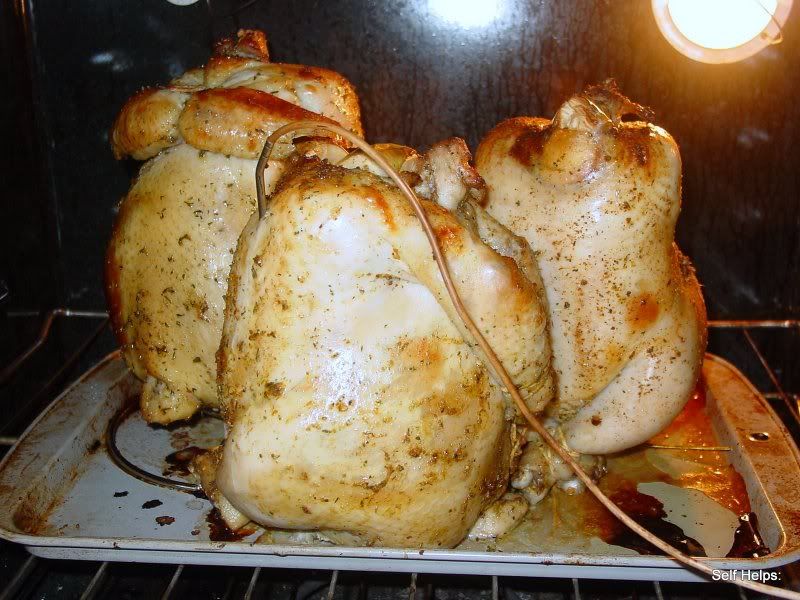

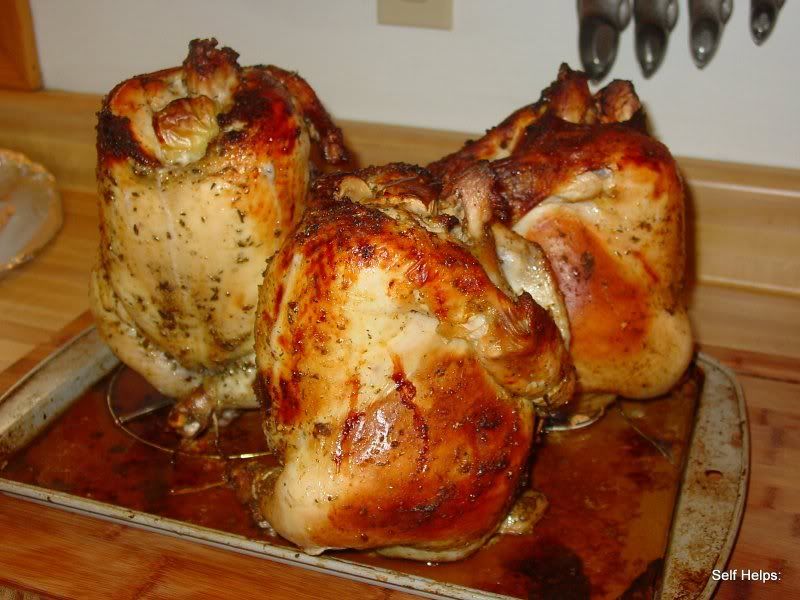

Looking good! Remember, food will continue to cook, even after OUT OF THE OVEN. That's why I take them out at 160 and wrap in a foil tent. Let it rest for 15 minutes before cutting. This is a MUST with all
roasted meats.

Finish up everything else while the chicken is resting.


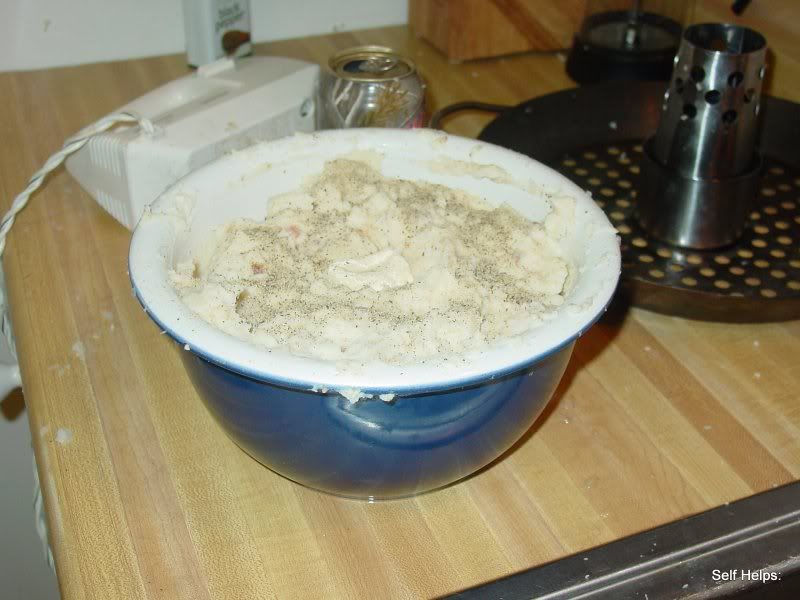
Drain and mash potatoes. Add to them bacon crumbles, sour cream and some butter.


This is just Stove Top from a box, easy. Delicious. For the veggies, heat up the pan and flash fry all veggies in the Italian dressing just until tender but with a snap. Don't over cook unless you like baby food.
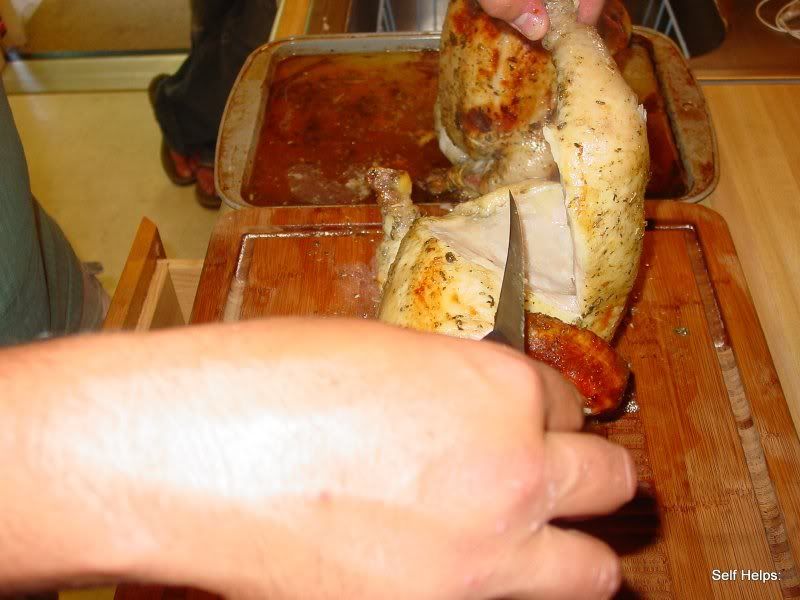
Now carve up the chicken.

Plate up all the deliciousness and ENJOY!

Whatever chicken isn't eaten SAVE. Save also all the drippings, and the the leftover bones or "carcass" from the carved birds. Out of all this we will make soup. Thats the next blog so stay tuned...

2 comments:
That looks awesome! Looking forward to more posts.
Never thought to try beer can chicken only because we aren't beer drinkers. Looks good, though, so we may try it!
Wow! looks awesome!
Post a Comment